Intex pool assembly requires careful planning and adherence to instructions. Step-by-step guides‚ DVDs‚ and manuals provide detailed support. Always prioritize safety and proper setup for lasting enjoyment.
1.1 Overview of Intex Pool Models
Intex offers a variety of pool models‚ including round‚ oval‚ rectangular‚ and ring-style designs. Each model features durable materials‚ easy assembly‚ and accessories like ladders and covers. They cater to different preferences‚ ensuring fun and safety for all users with clear instructions and supportive documentation.
1.2 Importance of Following Assembly Instructions
Following Intex pool assembly instructions ensures safety‚ proper functionality‚ and longevity. Misassembly can lead to structural issues or hazards. Detailed guides‚ DVDs‚ and manuals provide clear steps to avoid errors. Proper setup guarantees a secure and enjoyable experience‚ while also protecting your investment and ensuring compliance with safety standards.
Preparing the Site for Pool Assembly
Choose a flat‚ level site‚ clear debris‚ and ensure proper drainage. A ground cloth can prevent damage and improve stability‚ ensuring a smooth assembly process.
2.1 Choosing a Flat and Level Ground
Selecting a flat and level area is crucial for pool stability. Uneven surfaces can cause structural issues or water imbalance. Use a ground cloth to protect the liner and ensure proper drainage. Check for obstructions and soft spots before starting assembly to guarantee a safe and durable setup.
2.2 Clearing the Area of Debris
Clearing debris is essential to prevent damage to the pool liner. Remove rocks‚ branches‚ and sharp objects that could puncture the liner. Use a rake or broom to smooth the ground‚ especially on grassy areas. Ensure no obstructions remain to avoid uneven assembly or liner tears. A clean‚ debris-free surface ensures a safe and durable pool setup.
2.3 Ensuring Proper Drainage
Ensure proper drainage by positioning the pool on a slope or using a drainage mat. Avoid low-lying areas where water may accumulate. Check the ground for natural water flow and direct it away from the pool site. Proper drainage prevents waterlogging‚ which can damage the liner or destabilize the frame‚ ensuring a safe and durable setup.

Unpacking and Organizing Components
Begin by carefully unpacking all components‚ ensuring no parts are missing or damaged. Lay out items like the liner‚ frame pieces‚ and accessories neatly. Organize tools and hardware for easy access‚ following the inventory list provided in the manual to verify completeness before starting assembly.
3.1 Identifying Pool Parts and Accessories
Start by identifying all pool components‚ including the liner‚ frame pieces‚ pump‚ ladder‚ and cover. Check for accessories like hoses‚ valves‚ and hardware. Verify each item against the manual’s inventory list to ensure completeness. Separate and label parts for easier assembly‚ ensuring compatibility and readiness for the next steps.
3.2 Checking for Missing or Damaged Items
Once all components are unpacked‚ thoroughly inspect for any damage or missing parts. Cross-reference the manual’s inventory list to ensure all items are present. Check the pool liner‚ frame pieces‚ pump‚ hoses‚ and accessories for defects. Addressing issues early prevents delays during assembly and ensures a smooth setup process.
Setting Up the Pool Liner
Lay the pool liner on flat‚ level ground‚ ensuring it’s centered and smooth. Secure edges firmly to prevent shifting during assembly for a proper fit.
4.1 Laying Out the Liner on the Ground
Begin by carefully unfolding the pool liner and positioning it on flat‚ level ground. Ensure the liner is centered and evenly spread to avoid wrinkles. Smooth out any creases or folds by hand‚ working from the center outward. Check for debris or sharp objects that could damage the liner. Properly aligning the liner ensures a secure and leak-free setup.
4.2 Securing the Liner to the Ground
After laying the liner‚ use the provided straps or weights to secure it tightly to the ground. Ensure all edges are firmly attached to prevent shifting or wrinkling. Check for any gaps or loose areas‚ as a properly secured liner is essential for maintaining the pool’s shape and preventing leaks during use. Regular inspections add to durability.

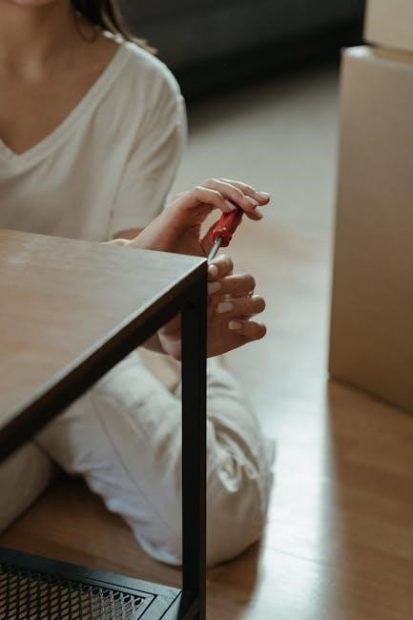
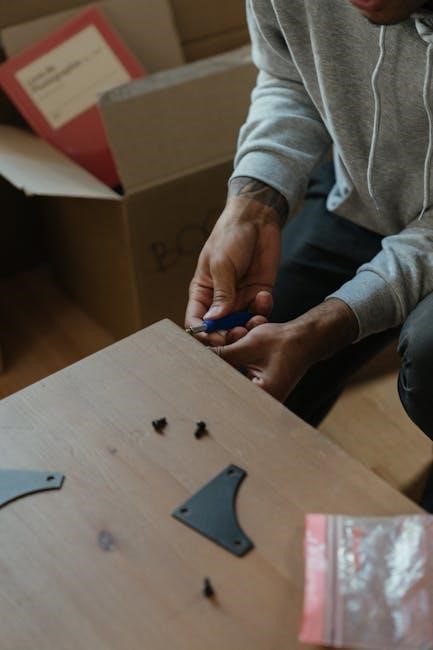
Assembling the Pool Frame
Connect the frame pieces according to the manual‚ ensuring all parts align properly. Use the provided pump to inflate the top ring for added stability and support.
5.1 Connecting the Frame Pieces
Begin by organizing frame components as per the manual. Align each piece precisely‚ ensuring smooth connections. Use the provided hardware to secure sections tightly‚ forming a sturdy structure. Follow the step-by-step guide to avoid misalignment and ensure stability. Proper assembly ensures the pool’s durability and safety. Take your time to fit each part correctly for a secure frame.
5.2 Tightening the Bolts and Screws
Use a torque wrench to tighten bolts and screws gradually. Follow the sequence outlined in the manual to ensure even pressure. Double-check each connection for firmness but avoid over-tightening‚ which may damage the frame; Periodically inspect and tighten as needed during assembly to maintain stability and prevent loosening over time. Proper tightening ensures a secure and durable frame structure for your pool.
Installing the Pump and Filter System
Connect the 110-120V cartridge filter pump securely to the pool. Follow manual instructions for proper installation. Ensure the pump is level and tightly sealed for efficient water circulation.
6.1 Connecting the Pump to the Pool
Connect the 110-120V cartridge filter pump securely to the pool’s inlet and outlet ports. Ensure the pump is properly aligned with the pool’s plumbing system. Follow the manual’s step-by-step instructions to avoid leaks. Tighten all connections firmly to maintain proper water circulation and filtration efficiency. Make sure the pump is placed on a level surface for optimal performance.
6.2 Ensuring Proper Water Circulation
Ensure proper water circulation by verifying the pump operates smoothly and water flows evenly through the filter. Check all connections for leaks and ensure the cartridge filter is clean. The pump’s flow rate‚ such as 1‚000 gallons per hour‚ should be maintained for optimal performance. Regularly inspect and clean the filter to prevent clogs and ensure efficient water circulation.
Inflating the Top Ring (For Ring-Style Pools)
Inflate the top ring using the provided pump until firm. Ensure it’s secure for pool stability and safety‚ checking tightness regularly.
7.1 Using the Provided Pump for Inflation
Attach the pump to the valve on the top ring. Turn it on and inflate slowly. Monitor pressure to avoid over-inflation. Stop when the ring feels firm. Ensure a secure connection to maintain stability and safety during use. Refer to the manual for specific inflation guidelines and pump operation details.
7.2 Ensuring the Ring is Firm and Secure
After inflating‚ check the ring’s firmness by gently squeezing. Ensure all valves are tightly closed to prevent air leaks. Avoid over-inflation‚ as this may cause damage. Once firm‚ secure the ring to the pool frame using the provided straps or clips. Periodically inspect the ring for any signs of weakness‚ especially after changes in temperature or weather conditions‚ to maintain stability and safety.

Filling the Pool with Water
Connect a hose to a water source and begin filling. Monitor the water level closely to avoid overfilling. Ensure proper water circulation once filled.
8.1 Connecting a Hose to the Water Source
Attach the hose securely to a nearby water source. Ensure a tight connection to prevent leaks. Turn on the water supply slowly‚ checking for proper flow and alignment with the pool’s inlet. Monitor the connection to avoid any issues during the filling process. Follow the manufacturer’s guidelines for optimal performance and safety.
8.2 Monitoring the Water Level
Regularly check the water level to ensure it doesn’t exceed the recommended height. Supervise the filling process closely to avoid overfilling. Ensure the water aligns with the pool’s inlet and outlet markings for proper circulation and safety. Adjust the water flow as needed and verify there are no leaks or irregularities in the filling process.

Finalizing the Assembly
Attach the ladder and cover securely. Test the pump and filter system to ensure proper function. Double-check all connections and components for stability and safety before use.
9.1 Attaching the Ladder and Cover
Securely attach the ladder and pool cover according to the manual. Ensure all hardware is tightly fastened for stability. Double-check the ladder’s placement for easy access and the cover’s fit to prevent accidents. Follow safety guidelines for proper installation to guarantee a safe and enjoyable swimming experience.
9.2 Testing the Pump and Filter
After assembly‚ turn on the pump and filter system to ensure proper water circulation. Check for any leaks or unusual noises; Verify that the filter is clean and functioning correctly. Monitor the system’s performance to maintain clean and safe water conditions. Refer to the manual for specific testing procedures and troubleshooting tips.

Safety Guidelines and Precautions
Always supervise children during assembly and use. Follow manual instructions carefully to avoid accidents. Ensure proper installation of the pump and filter to prevent hazards. Never overfill the pool beyond recommended levels.
10.1 Supervising Children During Assembly
Always ensure continuous adult supervision during assembly to prevent accidents. Keep children away from sharp edges‚ heavy components‚ and electrical parts. Never allow children to handle pool equipment or tools unsupervised. Ensure they stay clear of the pool area until it is fully assembled and safe for use. Teach children to follow safety instructions and avoid dangerous zones.
10.2 Avoiding Overfilling the Pool
Avoid overfilling the pool to prevent water overflow and potential damage to the liner or frame. Monitor water levels during filling‚ ensuring it does not exceed the recommended height. Overfilling can cause structural instability and safety hazards‚ especially during use. Always follow the manufacturer’s guidelines for safe water levels to ensure durability and safe enjoyment of your Intex pool.

Troubleshooting Common Issues
Identify and address leaks‚ weak inflation‚ or pump malfunctions promptly. Inspect connections‚ tighten loose parts‚ and consult the manual for guidance to ensure optimal pool performance.
11.1 Addressing Leaks or Weak Inflation
Inspect the pool for any visible cracks or loose connections. Tighten all bolts and screws firmly. For weak inflation‚ ensure the top ring is properly secured and inflated. Refer to the manual for specific guidance on resolving leaks or inflation issues promptly to maintain structural integrity and safety.
11.2 Resolving Pump or Filter Malfunctions
Check the pump and filter connections for tightness and proper alignment. Ensure the filter cartridge is clean and replace it if necessary. Refer to the manual for troubleshooting steps. If issues persist‚ consult Intex support or consider replacing faulty components to restore proper water circulation and system efficiency.
Maintenance and Longevity Tips
Regularly clean the pool and filter to ensure optimal performance. Inspect the frame and liner for damage. Store the pool in a dry place during off-season to prolong its lifespan and maintain quality.
12.1 Regular Cleaning and Upkeep
Regular cleaning involves skimming the pool surface and vacuuming the floor to remove debris. Use Intex cleaning tools to maintain hygiene. Check the filter cartridge frequently and replace it as needed to ensure proper water circulation and clarity. Regular upkeep prevents algae growth and extends the pool’s lifespan‚ ensuring safe and enjoyable swimming experiences.
12.2 Storing the Pool During Off-Season
Drain the pool completely and clean all components‚ including the liner and frame. Store the disassembled parts in a dry‚ cool place‚ protected from direct sunlight. Use the provided pool cover to shield from dust and weather. Proper storage ensures the pool remains in good condition for future use. Always follow the manufacturer’s guidelines for off-season maintenance.