
Welcome to the Hoover Repair Manual, your comprehensive guide to diagnosing, repairing, and maintaining Hoover appliances. Designed for both professionals and DIY enthusiasts, this manual provides detailed instructions, troubleshooting tips, and essential information to ensure your Hoover devices operate efficiently. Whether you’re addressing common issues or performing routine maintenance, this resource empowers you to extend the lifespan and performance of your Hoover products effectively.
1.1 Importance of Proper Repair and Maintenance
Proper repair and maintenance are crucial for extending the lifespan of your Hoover appliances. Regular servicing prevents breakdowns, ensures optimal performance, and enhances safety. Addressing issues promptly avoids costly repairs and reduces the risk of electrical hazards. By following guidelines, you maintain efficiency, reduce energy consumption, and prolong the durability of your Hoover devices, ensuring they operate reliably for years to come.
1.2 Overview of Hoover Appliances and Their Common Issues
Hoover offers a wide range of appliances, including vacuum cleaners, washing machines, and air purifiers. Common issues include clogged filters, malfunctioning motors, and faulty electrical components; Vacuums often face problems like blocked hoses or worn belts, while washing machines may experience drum misalignment or drainage issues. Understanding these common problems helps in quick diagnosis and effective troubleshooting, ensuring optimal appliance performance and longevity.

Safety Guidelines for Hoover Repair
Always disconnect power before starting repairs. Wear protective gear like gloves and goggles. Avoid damaged cords or components to prevent electrical shocks or injuries.
2.1 Essential Safety Precautions Before Starting Repair
Before beginning any repair, ensure the appliance is unplugged from the power source to avoid electrical shocks. Wear protective gloves and eyewear to prevent injuries. Never attempt repairs near water or in damp environments. If unsure about a procedure, consult the official Hoover manual or contact a certified technician. Always follow manufacturer guidelines to ensure safety and prevent further damage to the appliance.
2.2 Understanding Electrical Safety in Hoover Appliances
Hoover appliances often involve complex electrical systems that require careful handling. Always disconnect power before starting repairs to prevent shocks or injuries. Be aware of live wires and components, and avoid bypassing safety features. Use multimeters to test circuits and ensure all capacitors are discharged. Familiarize yourself with the appliance’s wiring diagram from the manual to identify critical electrical components safely and efficiently.

Common Issues in Hoover Appliances
Hoover appliances often face issues like faulty motors, clogged filters, and loose belts. Identifying symptoms early helps prevent major breakdowns. Regular maintenance is key to avoiding these problems.
3.1 Identifying Faulty Parts and Symptoms
Identifying faulty parts in Hoover appliances begins with recognizing common symptoms like unusual noises, reduced suction, or belt wear. These issues often point to motor malfunctions, clogged filters, or worn-out belts. Regular inspection of components like brushes, hoses, and belts can help detect problems early. Always refer to the manual for specific diagnostic guidance related to your Hoover model.
3.2 Troubleshooting Techniques for Hoover Vacuums and Cleaners
Troubleshooting Hoover vacuums involves checking power supply, filters, and belts. If suction is weak, inspect for blockages or clogged hoses. For noisy operation, examine brushes or motors. Replace worn belts promptly and ensure all components are securely reattached. Regularly cleaning filters and emptying dust bins can prevent common issues. Always refer to the manual for model-specific troubleshooting steps.
Tools and Equipment Needed for Repair
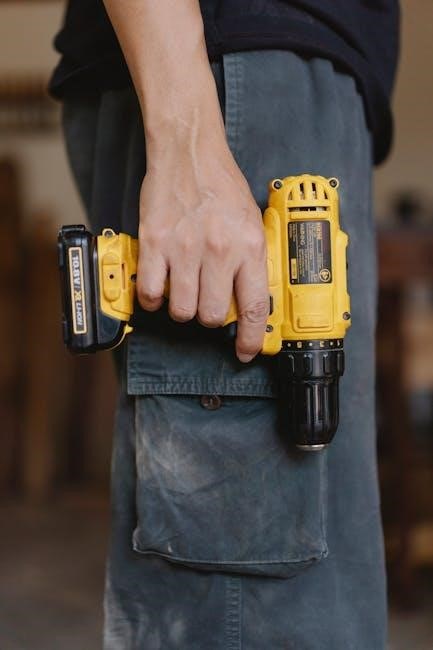
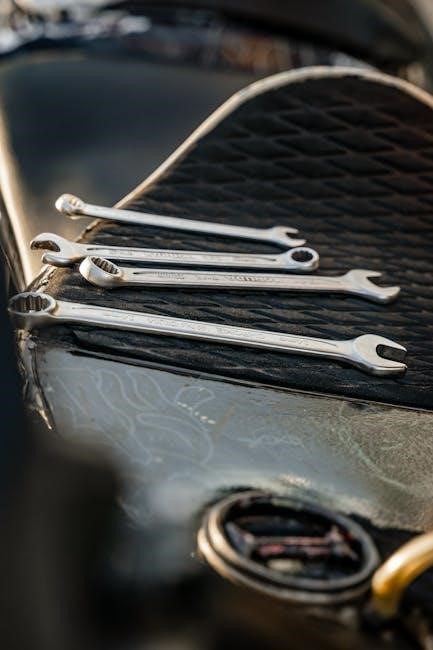
Essential tools include screwdrivers, pliers, and Allen wrenches for disassembly. Use genuine Hoover parts for reliability. Refer to the manual for specific tool requirements and safety guidelines.
4.1 List of Essential Tools for Hoover Repair
Essential tools for Hoover repair include screwdrivers (Phillips and flathead), Torx wrenches, pliers, and Allen keys. Additional items like multimeters for electrical diagnostics and vacuum-specific tools, such as brush roll removal tools, are also necessary. Always refer to the specific model’s manual for a detailed list of required tools to ensure efficient and safe repairs.
4.2 Where to Source Genuine Hoover Parts
Genuine Hoover parts can be sourced directly from Hoover’s official website or through authorized dealers. Visit hoover.com and use the parts finder tool or contact customer service at 1-800-944-9200 for assistance. Additionally, online platforms like ManualsLib offer access to part listings and diagrams, ensuring authenticity and compatibility for your specific Hoover model.

Step-by-Step Assembly and Disassembly Guide
Master the process of assembling and disassembling Hoover appliances with this guide. Follow detailed, step-by-step instructions and diagrams for ease. Ensure proper alignment and secure fastening of components. Refer to specific model manuals for unique requirements.
5.1 Detailed Instructions for Disassembling Hoover Appliances
Begin by unplugging the appliance and preparing essential tools like screwdrivers. Start with the outer casing, removing screws carefully. Gently pry components apart, taking note of connectors and cables. Separate the motor from the chassis, ensuring no wires are damaged. Remove filters and internal parts systematically. Refer to your specific model’s manual for precise disassembly steps and safety guidelines to avoid damage.
5.2 Reassembling Hoover Appliances After Repair
Reassembly requires precision to ensure proper functionality. Start by aligning the internal components, reattaching wires, and securing screws tightly. Replace filters and hoses, ensuring they are connected firmly. Refer to your disassembly notes to restore parts correctly. Reattach the outer casing and test the appliance to confirm all functions work smoothly. Always consult the model-specific manual for accurate reassembly instructions.
Parts and Accessories for Hoover Repair
Hoover repair requires genuine parts like handles, screws, and drive pins. These ensure proper functionality and durability. Source them from authorized dealers or official Hoover websites.
6.1 Comprehensive List of Hoover Parts and Their Functions
- Upper Handle Grip: Provides comfort and control during operation.
- Drive Control Pin: Ensures smooth movement and alignment of components.
- Screws: Essential for securing parts and maintaining structural integrity.
- Brush Roll: Removes dirt and debris efficiently from surfaces.
- Motor: Powers the appliance, enabling suction and cleaning functions.
- Filters: Captures dust and allergens, improving air quality.
- Dust Bin: Collects dirt and debris for easy disposal.
6.2 Tips for Maintaining and Replacing Parts
Regularly clean filters and brush rolls to ensure optimal performance. Inspect belts and hoses for wear and tear, replacing them when necessary. Refer to the manual for genuine part compatibility. Always disconnect power before servicing. Store spare parts in a dry, secure location. Properly dispose of old components to minimize environmental impact. Maintain a record of replacements for future reference.
Advanced Troubleshooting Techniques
Diagnose complex issues by analyzing error codes and testing electrical components. Address persistent problems like motor failure or clogged systems. Use specialized tools for detailed inspections and repairs.
7.1 Diagnosing Complex Issues in Hoover Appliances
Diagnosing complex issues in Hoover appliances requires a systematic approach. Start by identifying symptoms, such as unusual noises or reduced performance. Consult the service manual for error codes and troubleshooting guides. Use multimeters to test electrical components and ensure proper connections. Inspect internal mechanisms for blockages or wear. Refer to detailed schematics for precise diagnostics and effective repairs, ensuring optimal functionality.
7.2 Advanced Repair Procedures for Persistent Problems
For persistent issues in Hoover appliances, advanced repair procedures may be necessary. Consult the service manual for complex tasks, such as motor replacements or electrical circuit repairs. Use diagnostic tools like multimeters to test components and ensure proper connections. Inspect internal mechanisms for hidden damage or wear. Replace faulty parts with genuine Hoover components and follow reassembly guidelines carefully. Refer to exploded diagrams for clarity and ensure all repairs meet safety standards to prevent further malfunctions.

Hoover Electrical Systems and Wiring
Hoover appliances rely on complex electrical systems. Understanding wiring diagrams, component functions, and safety protocols is crucial for repairs. Always use genuine Hoover parts to maintain efficiency and safety.
8.1 Understanding Hoover’s Electrical Components
Hoover’s electrical components include motors, circuits, and wiring that power its appliances. These systems are designed for efficiency and safety. Motors drive functions like suction and rotation, while circuits regulate power distribution. Proper understanding ensures safe repairs and prevents electrical hazards. Always refer to official manuals for specific component details and troubleshooting guidelines to maintain functionality and longevity of your Hoover devices effectively.
8.2 Repairing Electrical Systems in Hoover Appliances
Repairing Hoover’s electrical systems requires careful attention to safety and precision. Always disconnect power before starting work. Use multimeters to identify faulty circuits or wires. Common issues include worn connections, short circuits, or malfunctioning motors. Replace damaged components with genuine Hoover parts. Consult official diagrams for specific models to ensure accurate repairs. This approach ensures reliable operation and extends appliance lifespan effectively.
Maintenance Tips for Hoover Appliances
Regular maintenance is key to extending the life of Hoover appliances. Clean filters, check belts, and ensure proper ventilation to optimize performance and prevent unexpected breakdowns effectively.
9.1 Regular Maintenance to Prevent Breakdowns
Regular maintenance is crucial for preventing breakdowns in Hoover appliances. Empty dust bins frequently, clean filters, and inspect belts for wear. Ensure proper ventilation to avoid overheating. Regularly clean brushes and check for blockages in hoses or pipes. Lubricate moving parts if necessary and refer to your manual for model-specific guidance. Consistent upkeep ensures optimal performance and extends appliance lifespan.
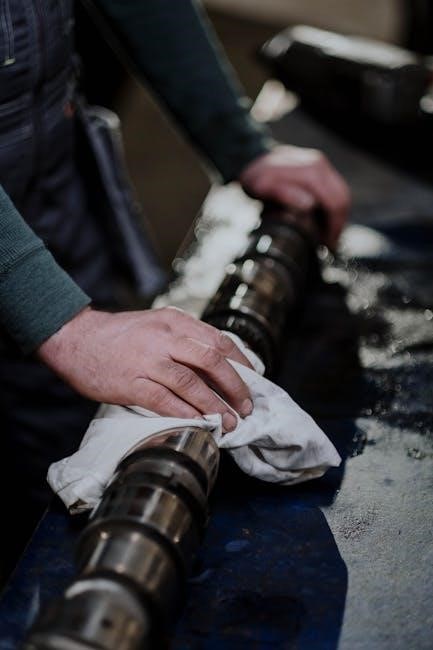
9.2 Cleaning and Servicing Hoover Appliances
Regular cleaning and servicing are essential for maintaining Hoover appliances. Empty dust bins after each use and clean filters to ensure optimal suction. Check hoses and pipes for blockages and clear them promptly. Lubricate moving parts as recommended and polish metal components to prevent rust. Refer to your appliance’s specific manual for detailed servicing instructions to keep your Hoover running smoothly and efficiently.
Community and Repair Resources
Engage with online forums and communities for Hoover repair tips and advice. Visit official Hoover websites or authorized dealers for genuine parts and expert support resources.
10.1 Online Forums and Communities for Hoover Repair
Online forums and communities offer valuable resources for Hoover repair. Platforms like ManualsLib provide access to user manuals, service guides, and troubleshooting tips. Engage with experts and DIY enthusiasts to resolve issues efficiently. These communities often share repair experiences, parts listings, and step-by-step solutions, helping you identify and fix problems effectively. Active participation can lead to personalized advice and continuous learning in Hoover appliance maintenance.
10.2 Official Hoover Support and Authorized Dealers
For authentic assistance, visit the official Hoover website or contact authorized dealers. Use the dealer locator tool to find certified professionals near you. Call 1-800-944-9200 (U.S. only) for automated referrals or customer service support, available Monday-Friday, 8am-7pm EST. Ensure genuine parts and reliable service by consulting Hoover experts. Avoid unauthorized repairs to maintain warranty validity and appliance performance. Always verify dealer authenticity for trusted support.
Mastering Hoover repair enhances appliance longevity and performance. Regular maintenance, proper troubleshooting, and genuine parts ensure reliability. Embrace DIY repair confidently, and continuously learn new techniques to maintain your Hoover devices effectively.
11.1 Summarizing Key Repair and Maintenance Strategies
Effective Hoover repair begins with understanding safety guidelines and using proper tools. Always disassemble appliances carefully and use genuine parts for reliability. Troubleshooting common issues like faulty belts or clogged filters can prevent major breakdowns. Regular maintenance, such as cleaning filters and lubricating moving parts, ensures optimal performance. Referencing official manuals and seeking expert advice when needed is crucial for successful DIY repairs.
11.2 Encouragement for DIY Repair and Continuous Learning
Embrace DIY repair to save costs, enhance your technical skills, and extend your Hoover appliance’s lifespan. Continuous learning through official manuals, online forums, and repair communities fosters confidence and expertise. Stay updated with the latest repair techniques and troubleshooting strategies to tackle challenges effectively. Remember, every repair is an opportunity to gain valuable knowledge and improve your problem-solving abilities.